Most WordPress users will know what I mean when I say that the “Tree” has been taken from us.
I was a great user of the tree whenever I wanted to show an image from another website (normally news sites).
Ok. It has gone and it doesn’t look like restarting so let’s find another way of doing what we want.
I am assuming that there are no problems with the  media button and its effect.
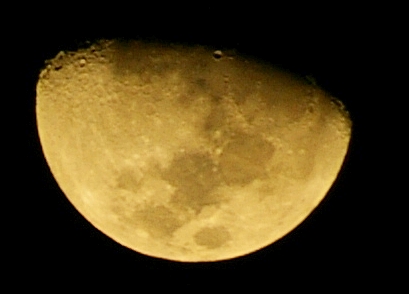
To get the above image into the text I made sure the cursor was between the words “the” and “media” then simply Uploaded an image using the media button. I checked the alignment button “None” (which I think was actually the pre-set) and the size button “Full Size” then hit “Inset in post”.
Which is fine for small images which don’t disrupt the text flow to any large degree.
I enjoyed using the tree when I wanted to wrap text around an image.
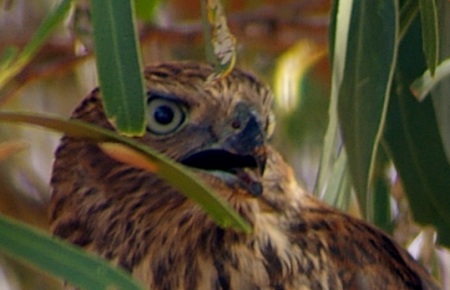
So now the work around to give us magazine-like layouts. I will use my little dunce from the BBC Quiz. I want to have text wrap around it.
 So, I find the image and right click on it, then choose “Properties”on the pop-up menu. As you can see, this is not doing the wrap around thing that I want it to do. But bear with me.
OK, I click on “Properties” and up comes another little window. Oh, I do know that most of us already know this but I am trying to help the beginners who may not have this stuff at their fingertips. The really hard, complicated stuff comes next. No, No, beginners, I’m joking – it isn’t complicated and it isn’t hard. Well, no more so than riding a bike. Anyway, you get a window that looks like this. The first line is the location – but make sure you copy the whole of that location line – it probably goes over the edge of the little window. So ctrl C it.

Now comes the interesting part. The part where everyone who has a mind which goes blank whenever “HTML” is mentioned, starts to get nervous.
Don’t. Get nervous that is. This is a heck of a lot easier than learning French.
Click on the HTML button  and find just where you want to insert the image. As in – between which words. Ignore all the odd stuff you see in there. It is that dreaded “HTML” but it isn’t something we need to know about. ##So we want to put our image between the two hash signs. Put the cursor between those hash signs and “paste” (ctrl V) that image location you just copied. so it looks like this –

Sorry it is so small. I had to reduce it down so it would fit in the 470 pixels width I have available in this theme. Anyway, you can see where it goes. Now this is not going to work because the HTML Editor doesn’t know what to do with it. so we have to use those backwards and forwards pointing brackets which are probably on the keys with the period and the comma. I cant show them because that editor is very literal and would think I was telling it something – it is very easy to confuse him.
Anyway, we are not going to confuse him because we are going to give one little and easily remembered command. Things must be done in order – firstly you have to put in an opening bracket. Then you need to give the command – we want to tell the editor where to find that image. The source of the image. So we need to learn a simple HTML command. “img src=”. It is a sort of txt speek. that is it – that is all you have to add. Other than to put a ” straight after the equals sign and another after the end of the “http” stuff – and don’t forget to close with an ending pointy bracket. So now it looks like this. Again, sorry about how small it is.

Of course I have only used those “#” symbols to make it easy to see where I am putting the image.
So – let me do that – I’ll copy the previous paragraphs and put them in italics.
Sorry it is so small.  I had to reduce it down so it would fit in the 470 pixels width I have available in this theme. Anyway, you can see where it goes. Now this is not going to work because the HTML Editor doesn’t know what to do with it. so we have to use those backwards and forwards pointing brackets which are probably on the keys with the period and the comma. I cant show them because that editor is very literal and would think I was telling it something – it is very easy to confuse him.
Ok, it is now in the text but it needs a final touch to make it wrap around. First click on the image so that all the sizing dots and stuff appears, then choose either the right or left alignment button at the top of the composition window. 
Sorry it is so small. I had to reduce it down so it would fit in the 470 pixels width I have available in this theme. Anyway, you can see where it goes. Now this is not going to work because the HTML Editor doesn’t know what to do with it. so we have to use those backwards and forwards pointing brackets which are probably on the keys with the period and the comma. I cant show them because that editor is very literal and would think I was telling it something – it is very easy to confuse him.
Ok, it isn’t perfect and while it IS possible to get the neat space between the image and the text by using more html stuff, I don’t think it is worth it. This is a reasonable work around until we can get a big time petition up and running to try to convince the powers-that-be to return our tree. Although I feel there may be a touch of self preservation for WordPress in this action – the tree made it far too easy to jump all over the copyright thingo.


 We have to find images of “Free”.